


This post will demonstrate how to deploy a react application using docker and GCP and deploy the containerize application to Kubernetes Engine in GCP. The whole demonstration is going to be done on Google Cloud Shell.
Prerequisites
Create a Google Cloud Platform account here , and set up billing.
Create a dockerhub account here
Getting Started
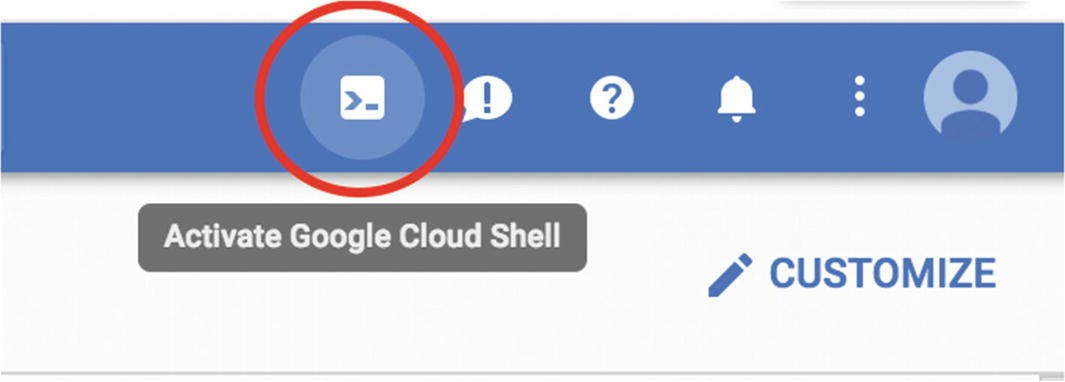
Like i said we will be using google cloud shell for this demonstration: Once you are on your Google Cloud Platform Console; click the Activate Cloud Shell button at the top of the Google Cloud Platform Console.
Google Cloud Shell is 5GB Linux virtual machines that provides you with command-line access to your cloud resources directly from your browser. You can easily manage your projects and resources without having to install the Google Cloud SDK or other tools on your system. With Cloud Shell, the Cloud SDK gcloud command-line tool and other utilities you need are always available, up to date and fully authenticated when you need them.
 The cloud session can take few seconds to initialize, but once its done we are ready to go;
1. Create a React App
The Cloud shell already has node installed, we can confirm that by using the command;
node -v
Create React App is a comfortable environment for learning React, and is the best way to start building a new single-page application in React. It sets up your development environment so that you can use the latest JavaScript features, provides a nice developer experience, and optimizes your app for production. You'll need to have Node >= 8.10 and npm >= 5.6 on your machine. To create a project, we run three commands below:
npx create-react-app my-react-app
cd my-react-app
yarn start
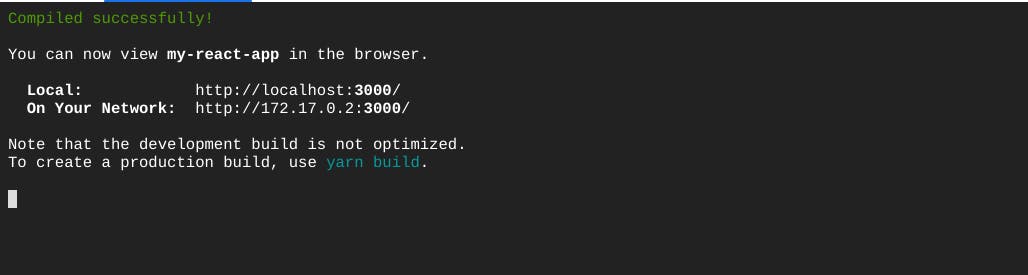
After the successfully running the commands, then our react app has been created and running, and we can now see a compiled successfully message.
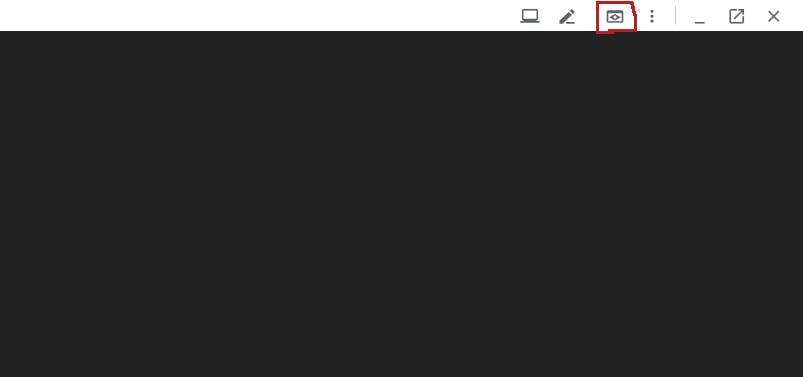
To check the app out we use the Web Preview on the cloud shell,
and change the port to 3000, which is default port assigned for our react app;
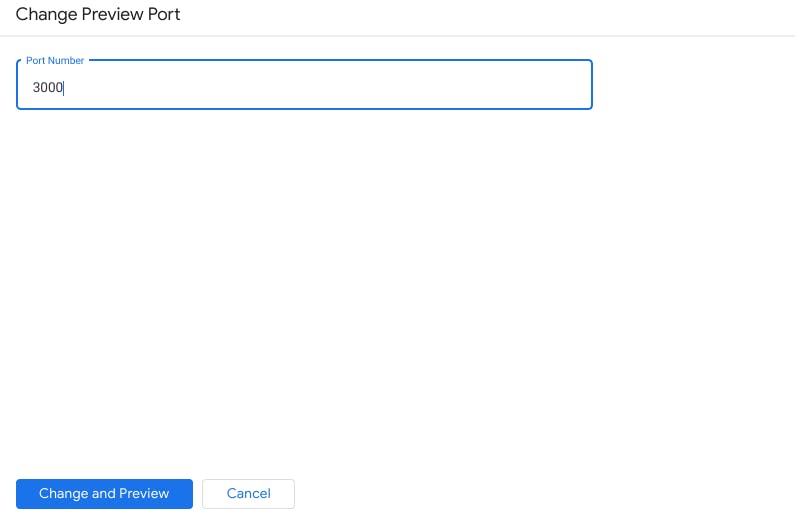
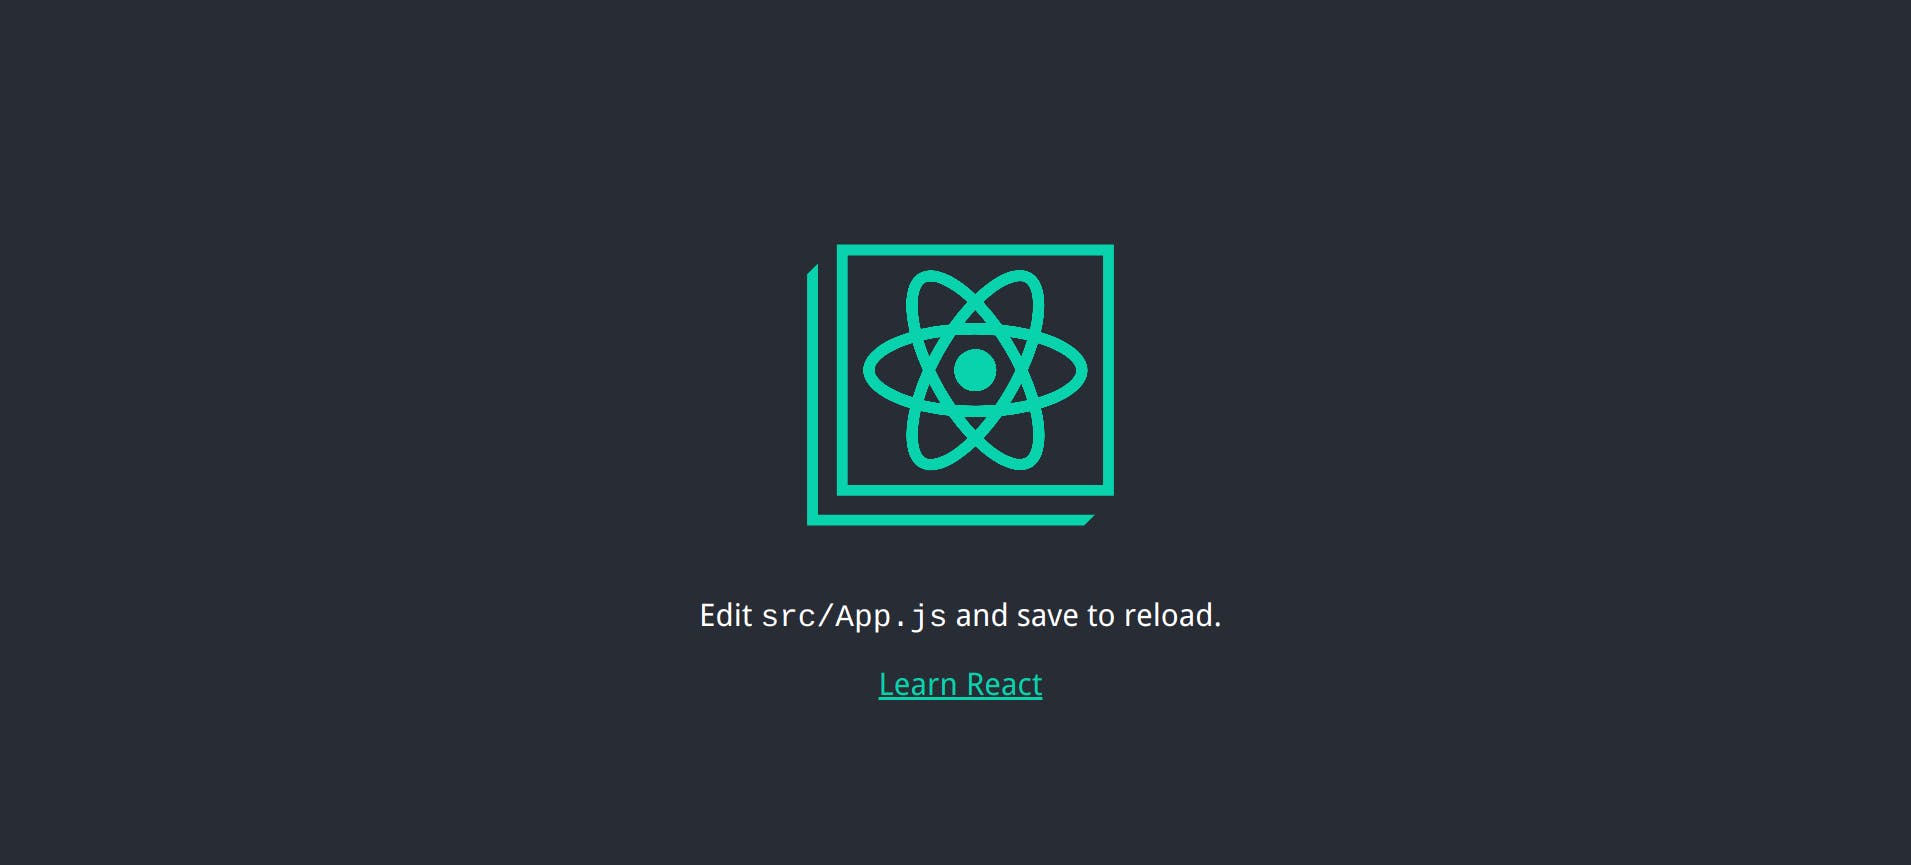
Click change and preview and watch your newly created react app come live.
Move back to the cloud shell terminal and use ctlr + c, to exit from the application shell.
If you also want to edit the scr/App.js file or customize your react app you can do that now before packaging the app into a docker image
2. Package your app into a Docker image
First, we need to first install docker on the Cloud Shell VM, run the following commands to install docker;
Note: the below commands is for ubuntu based OS, for other type of OS check the official docker documentation guide
sudo apt-get update
sudo apt-get install \
    apt-transport-https \
    ca-certificates \
    curl \
    gnupg-agent \
    software-properties-common
curl -fsSL https://download.docker.com/linux/ubuntu/gpg | sudo apt-key add -
sudo apt-key fingerprint 0EBFCD88
sudo add-apt-repository \
   "deb [arch=amd64] https://download.docker.com/linux/ubuntu \
   $(lsb_release -cs) \
   stable"
sudo apt-get update
sudo apt-get install docker-ce docker-ce-cli containerd.io
After Docker installation, the next thing is to package our app into a Docker image, which will be done using Dockerfile. We now create the Dockerfile in our react app directory (my-react-app) using any text editor of your choice, I will be using nano here. Run the below command to create a new file with nano
nano Dockerfile
and paste in the following code, (and ctrl + x to save)
Before we create the docker images we need to create some files, if you need more detailed explanation about the Dockerfile used here, check this post
Next we need to tweak the default nginx configuration file nginx.conf, this tweak is because the nginx server listening on port 80 by default and that port is being used by cloud shell, so we change the nginx configuration file.
create a new file nginx.conf file
nano nginx.conf
and paste in the following code
Next is to create a dockerignore file to remove unnecessarily files and dependencies when building our image so as to make the image as lightweight as possible
nano .dockerignore
and paste in the code below
Now we can create our docker images
docker build -t myreactimage .
This will create the image in the current directory, the build process can take a while. After it has finished building, you can view the image using;
docker images
3. Run the Container Locally on your Machine
To run the container locally we use the command
docker run -d -p 8080:8080 myreactimage
this command runs our docker container in detached mode and map the container port 8080 which was exposed from our Dockerfile to port 8080 of our machine. We use the Web Preview again to check that our dockerized react app is running properly. Click the Web Preview then select preview on port 8080 (if the port is not currently on port 8080, select change port and change it to port 8080 then preview. And Voila, your dockerized react app is working and running
4. Upload the image to a registry (Dockerhub)
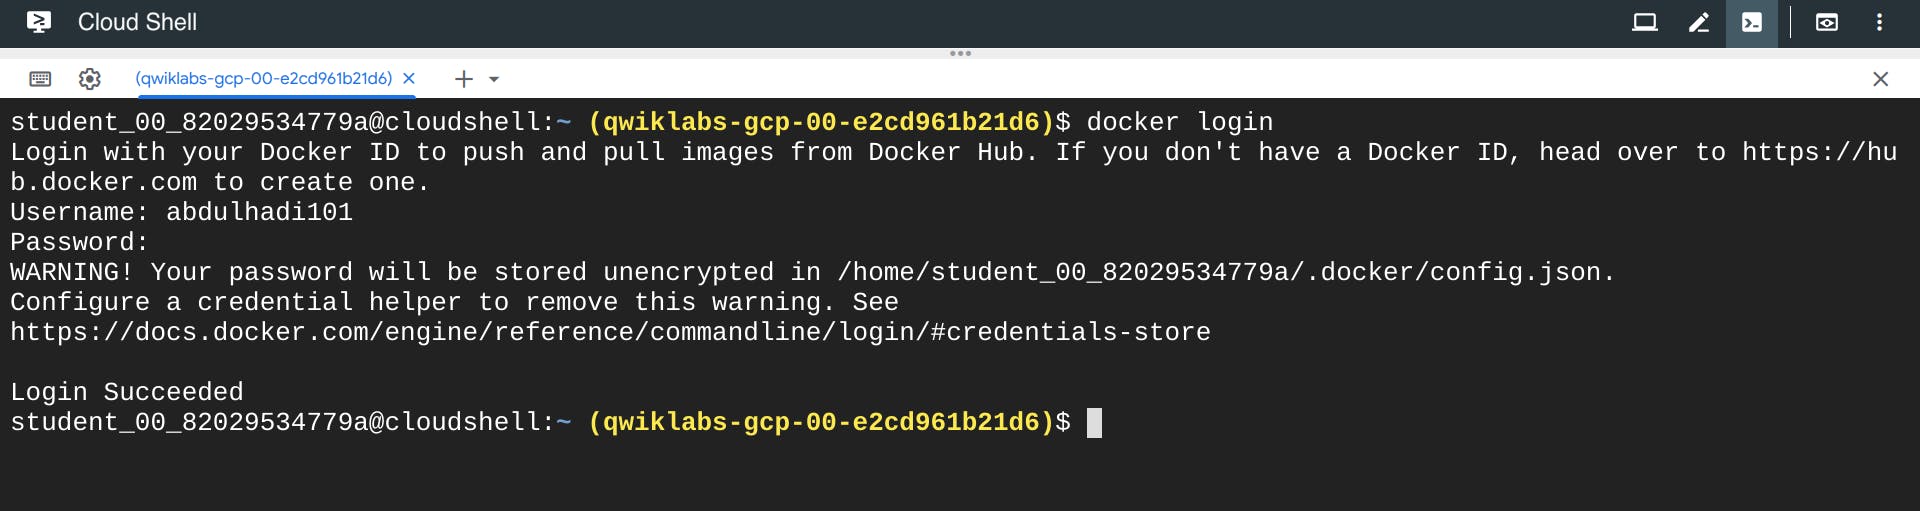
To upload your image, you must head to dockerhub and create a repository for the image, I have create a repository name myreactapp on dockerhub already. we first login to our docker account from the command shell;
docker login
provide your username and password on the prompt, you will get a success message as below;
 we now tag the image we created;
docker tag myreactimage abdulhadi101/myreactapp
After tagging we now push the image to the registry
docker push abdulhadi101/myreactapp
You can check dockerhub to make sure the image was uploaded successfully.
5. Create a Container cluster (inside Kubernetes Engine in GCP)
Before we create a container cluster, lets set the region and zones, I will be using us-central1-a
gcloud config set compute/zone us-central1-a
To create a cluster, run the following command, replacing my-cluster with the name you choose for the cluster.
gcloud container clusters create my-cluster
You can ignore any warnings in the output. It might take several minutes to finish creating the cluster. Soon after you should receive a similar output:

6. Deploy your app to the Cluster
Now that we have created a cluster, we can now deploy our containerized react application.
kubectl run my-app --image=abdulhadi101/myreactapp --port 8080
This Kubernetes command creates a Deployment object that represents my-app. In this command:
--image specifies a container image to deploy. In this case, the command pulls the example image from Dockerhub
--port specifies the port that the container exposes.
7. Expose your app to the Internet
Now we create a Kubernetes Service, which is a Kubernetes resource that lets you expose your application to external traffic, by running the following kubectl expose command:
kubectl expose deployment my-app --type="LoadBalancer"
Passing in type="LoadBalancer" creates a Compute Engine load balancer for the container.
We can now check the my-app Service by running;
kubectl get service my-app
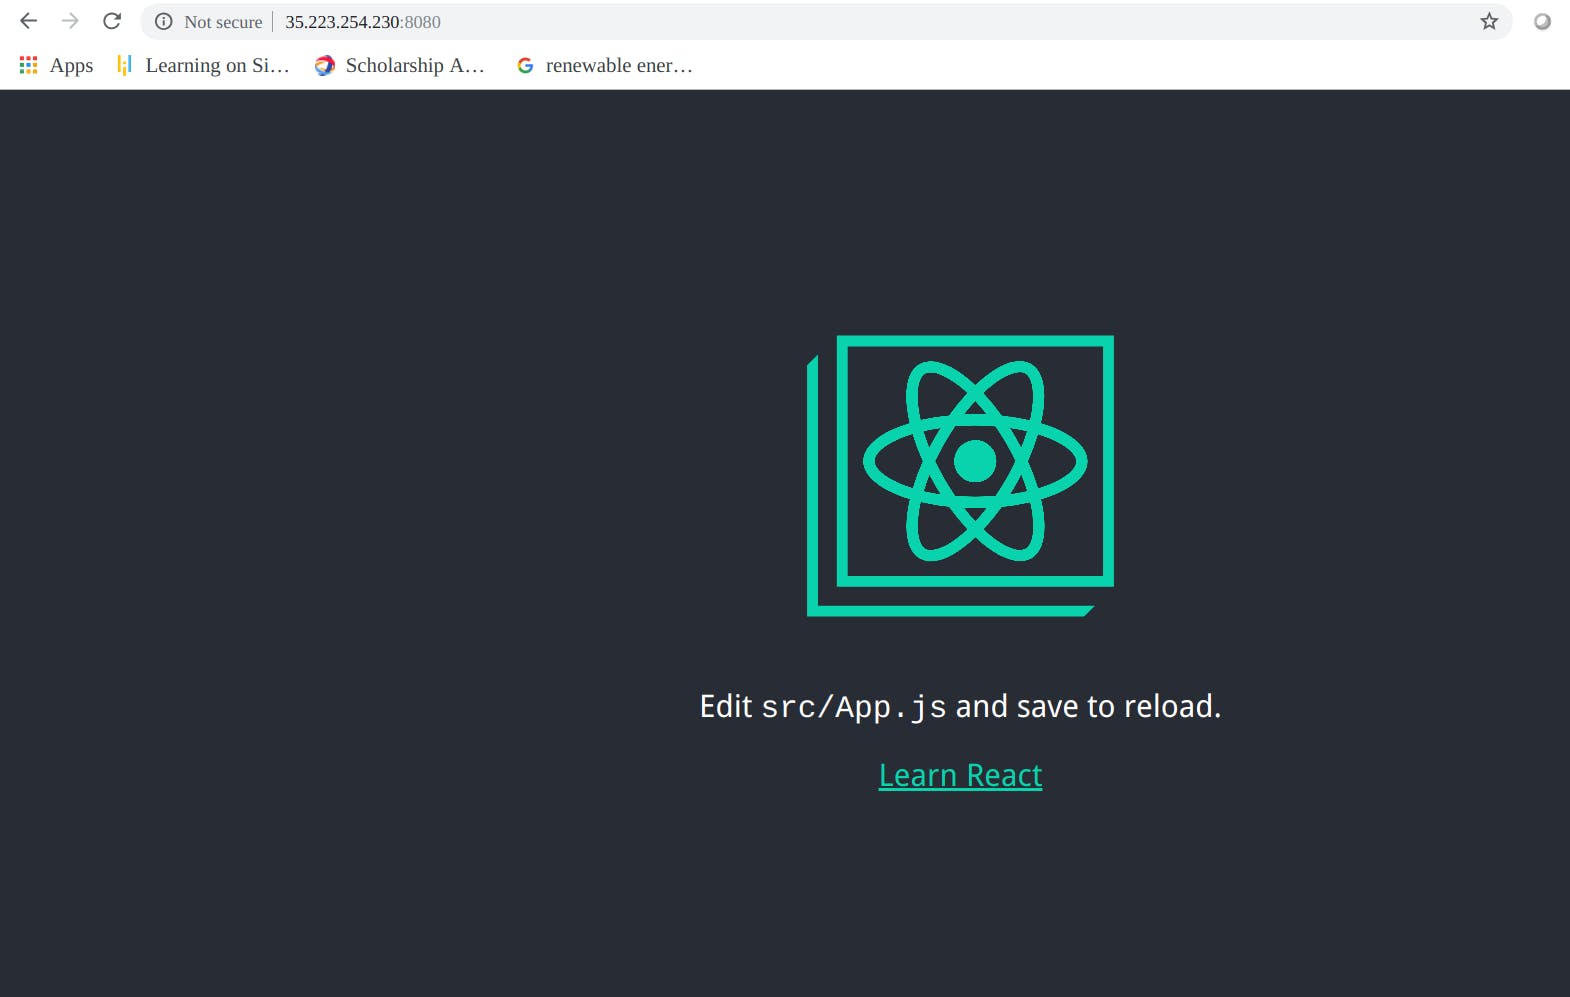
It might take a while for an external IP address to be assigned. Run the above command again if the EXTERNAL-IP is showing "pending". From this command's output, copy the Service's external IP address from the EXTERNAL IP column. View the application from your web browser using the external IP address with the exposed port: http://[EXTERNAL-IP]:8080 Your page should resemble the following:
Conclusion
Congratulation!! You have just deployed a containerized react application to Kubernetes Engine!
Thank you!